

IconNMR Automation: Multiple sample experiments setup (CP800)
-
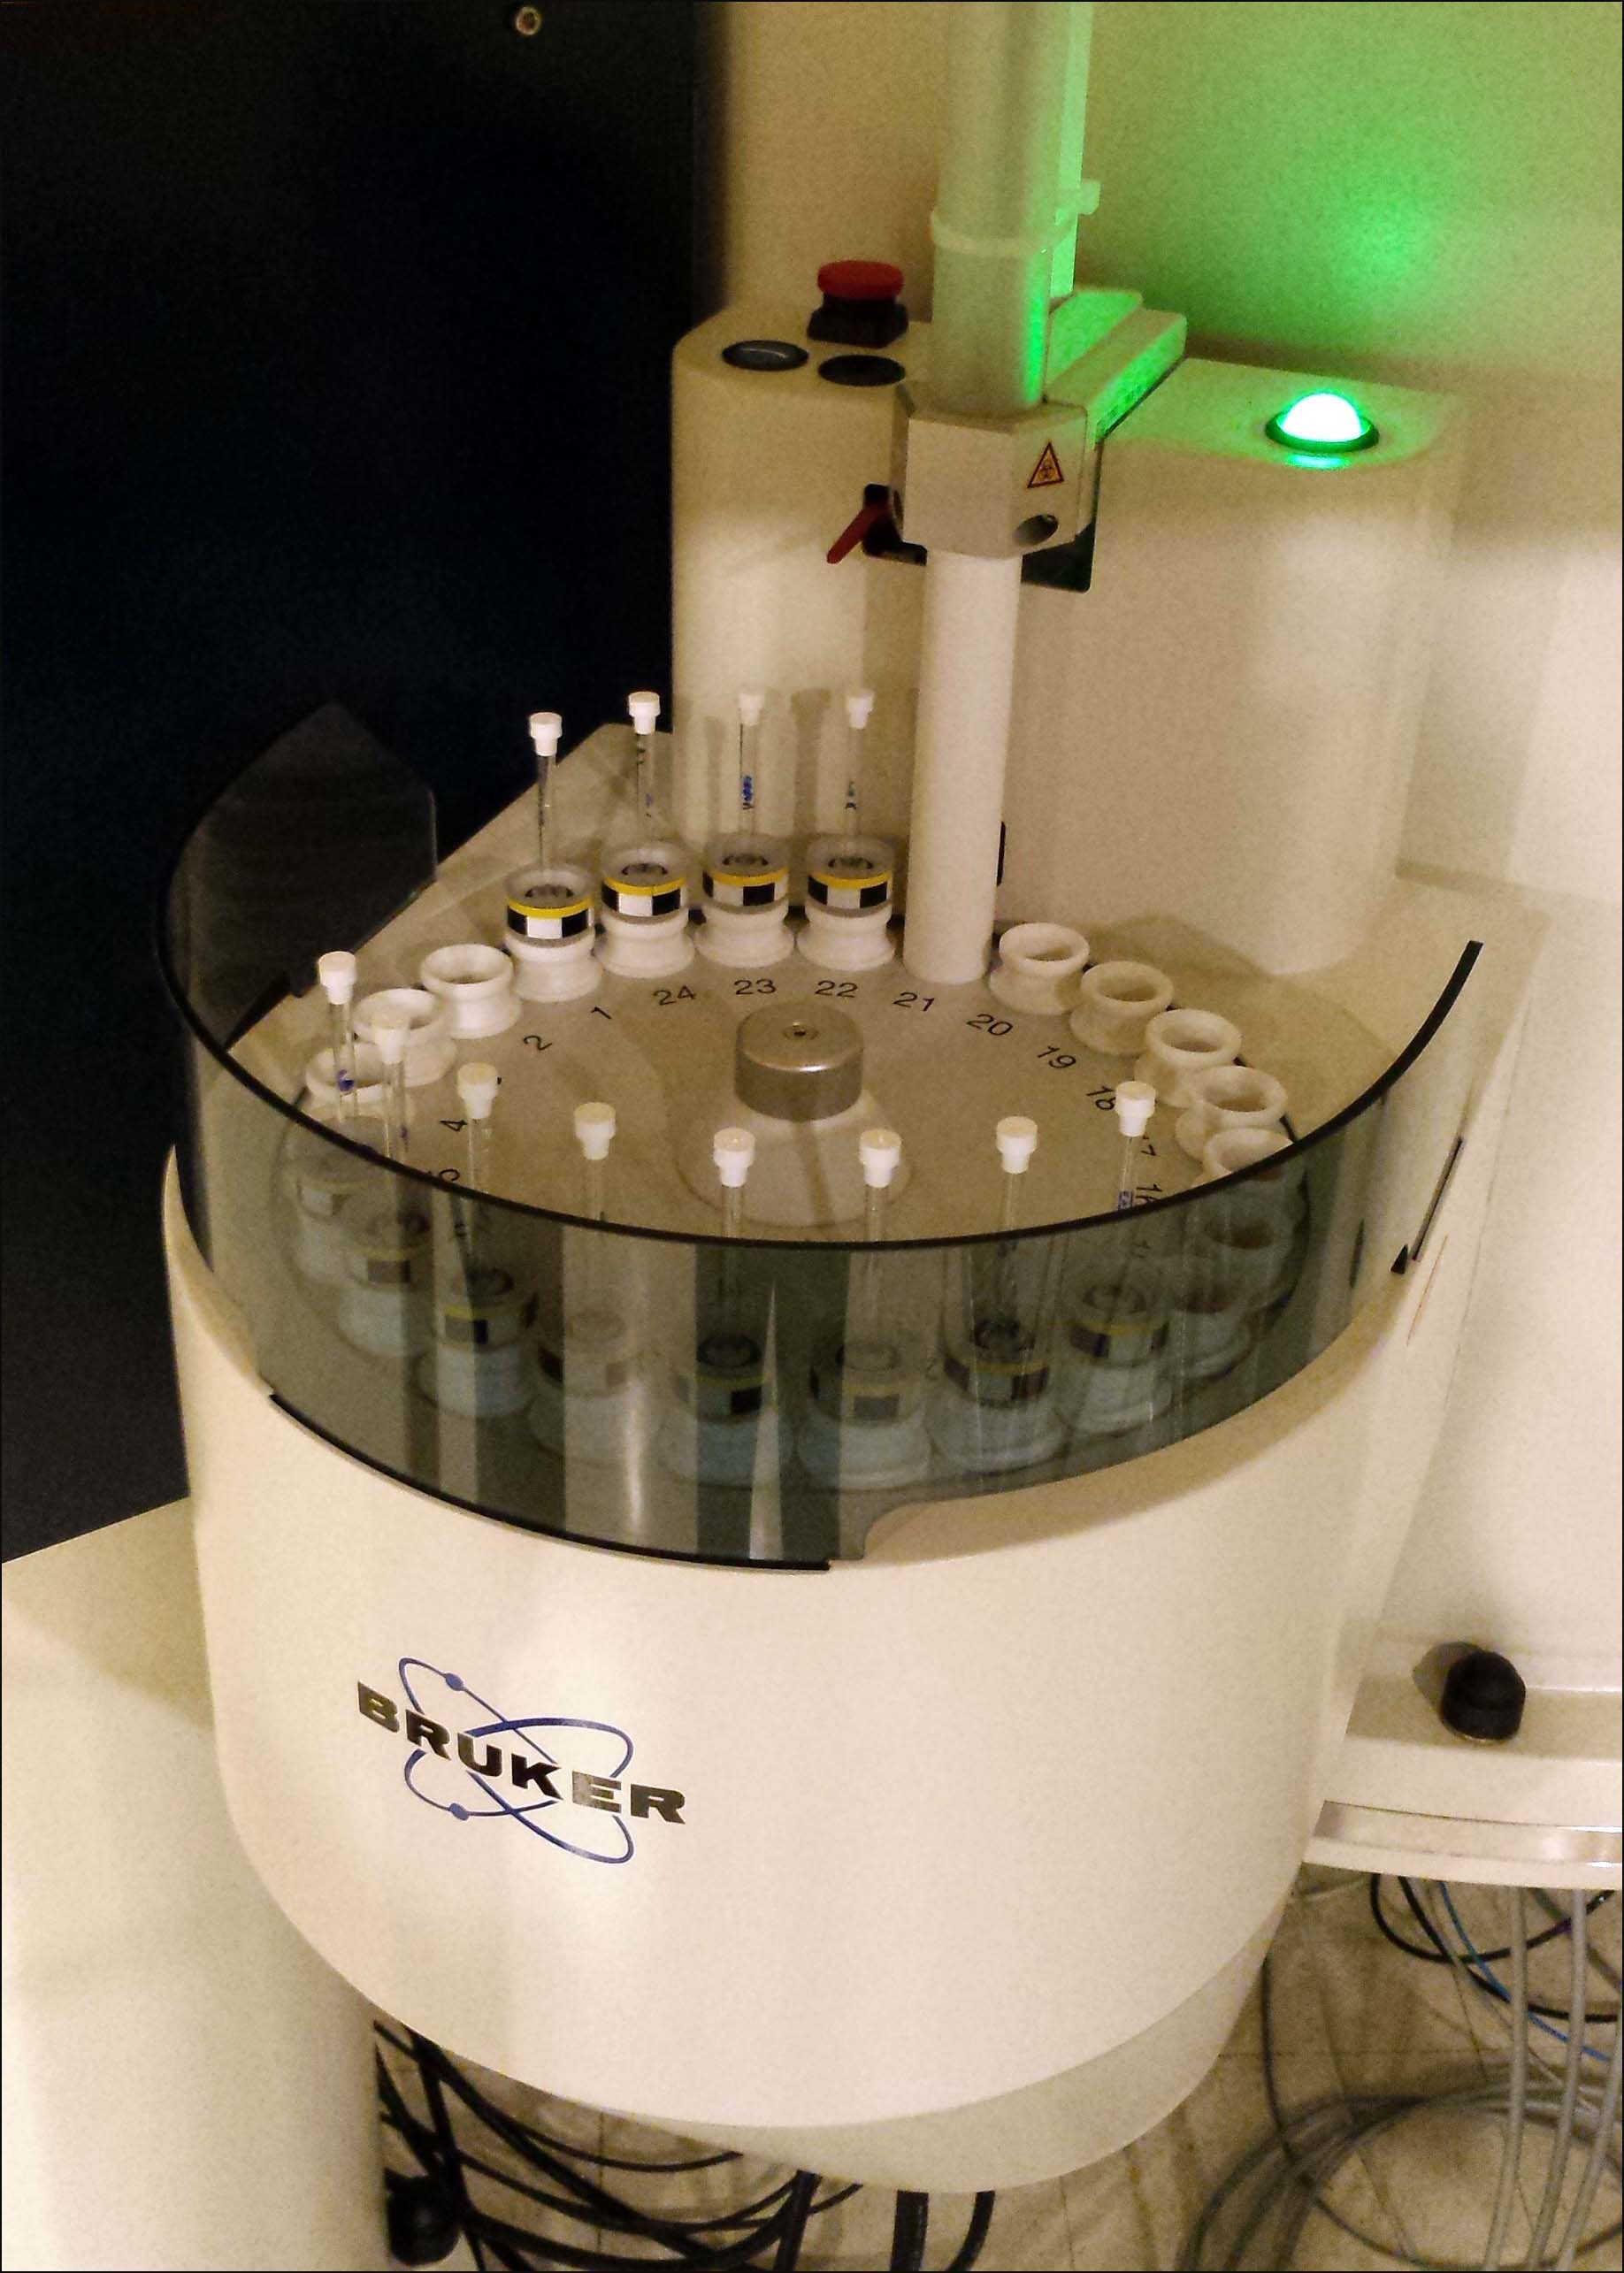
Put samples with spinner in the carousel sampleholder, and record the corresponding positions of all samples.
-
In TopSpin, type "iconnmr" to open IconNMR interface.
-
Select "IconNMR Automation", then select user.
-
Double click the holder number which has your first sample.
-
Change/edit the following information if necessary
(1) Disk and Name: By default, Disk is the current TopSpin address, something like Topspin3.5pl6, but you may want to change it to the address where you usually store NMR data, such as TopSpin 3.0. The name will be a data folder under your account(2) Experiment number: Check the data folder first. You may set any number but make sure it won't overwrite any existing important data..
(3) Solvent: it should be the deteurated solvent in the sample.
(4 )Experiment: Please read carefully the description of the experiment to make correct selection.
(5) Priority: not necessary to set it if you submit the experiment in your desired order.
(6) Parameters:
(a) Acquisition parameters. You may click on the

icon to edit a set of specified parameters. Or go to the top menu bar and select /parameters/Edit all acquisition paramenters, which is open the AcquPars window in topspin. After editing, you can click on Return to IconNMR to go back to Automation window.
Note that you should set temperature here (TE). When IconNMR automation starts, a window will pop up asking you whether you want temperature be regulated. If one temperature will be used for all samples/experiments, make sure set that temperature to all entries.(b) Locking, Shimming options. You may change the settings by clicking on

I recommend NOT to tune and match X-channels, if you will adjust it before starting the automation.
(7) Title
(9) Click on “Add” to add more experiments to this specific sample. Right click the experiment, you may also see "Iterate" option, which allow you to copy the same experiment including customized parameters.

-
The “Copy” option allows you to copy the already set-up experiment to the next holder number/sample, and then edit only what is necessary. Repeat this step to cover all the holder numbers that have samples. Use "Delete" option to remove entries that have no samples.
-
Review all the experiments that have been set up. Highlight the holder number, then click “Edit” will allow you to modify that experiment.
-
Highlight the holder number then click on “Submit” to add the experiment to the queue one by one. You may highlight multiple holder numbers at once.
-
Click “Start” to run the queued experiments. You may still any experiment that has not been running yet.
-
At the end, you must quit the automation mode by clicking on the stop icon

After that, you can set up single experiments in TopSpin window, which is the "manual mode". Note that there may be a bug in the iconnmr and you won't be able to quit/close iconnmr window or TopSpin, and you have to log out from your account to terminate the program.
2D experiment 1H SW adjustment
By default, the 2D experiments in iconNMR will create and run a 1D proton experiment to be used as a reference to SW optimization. You may choose an existing good 1D instead, or set ns in the 1D experiment properly so all signals of interests will have reasonable/good intensities. Alternatively, an normal/N version (opposite to the composite/C) of any 2D experiments can be created for 1H SW manual adjustment in iconNMR.